Essential Steps to Prepare Your Home for a Flawless Paint Job
A flawless paint job is more than just a few swipes of a brush. It’s an art rooted in preparation—a stage often ignored but critical. Whether you're refreshing your living room walls or updating your home’s exterior, the outcome depends heavily on how well you prepare the surfaces. Think of painting like baking a cake: if the batter isn’t right, no amount of frosting will fix it.
Let's dive into the detailed yet doable steps that will elevate your painting results from average to awe-inspiring.
What Does a “Flawless Paint Job” Actually Mean?
A flawless paint job isn’t about perfection—it’s about precision, durability, and a smooth finish. It means no bubbling, no uneven tones, and certainly no flaking after a few months. Achieving this requires laying a solid foundation through diligent prep work. And guess what? Most paint failures stem from poor preparation—not poor paint.
Benefits of Proper Home Prep Before Painting
Proper preparation ensures:
- Better paint adhesion for longer-lasting finishes
- Fewer imperfections post-painting
- Reduced paint consumption
- Savings on future repairs or repaints
Moreover, taking the time to prep surfaces minimizes the chance of costly mistakes that could lead you to redo everything.
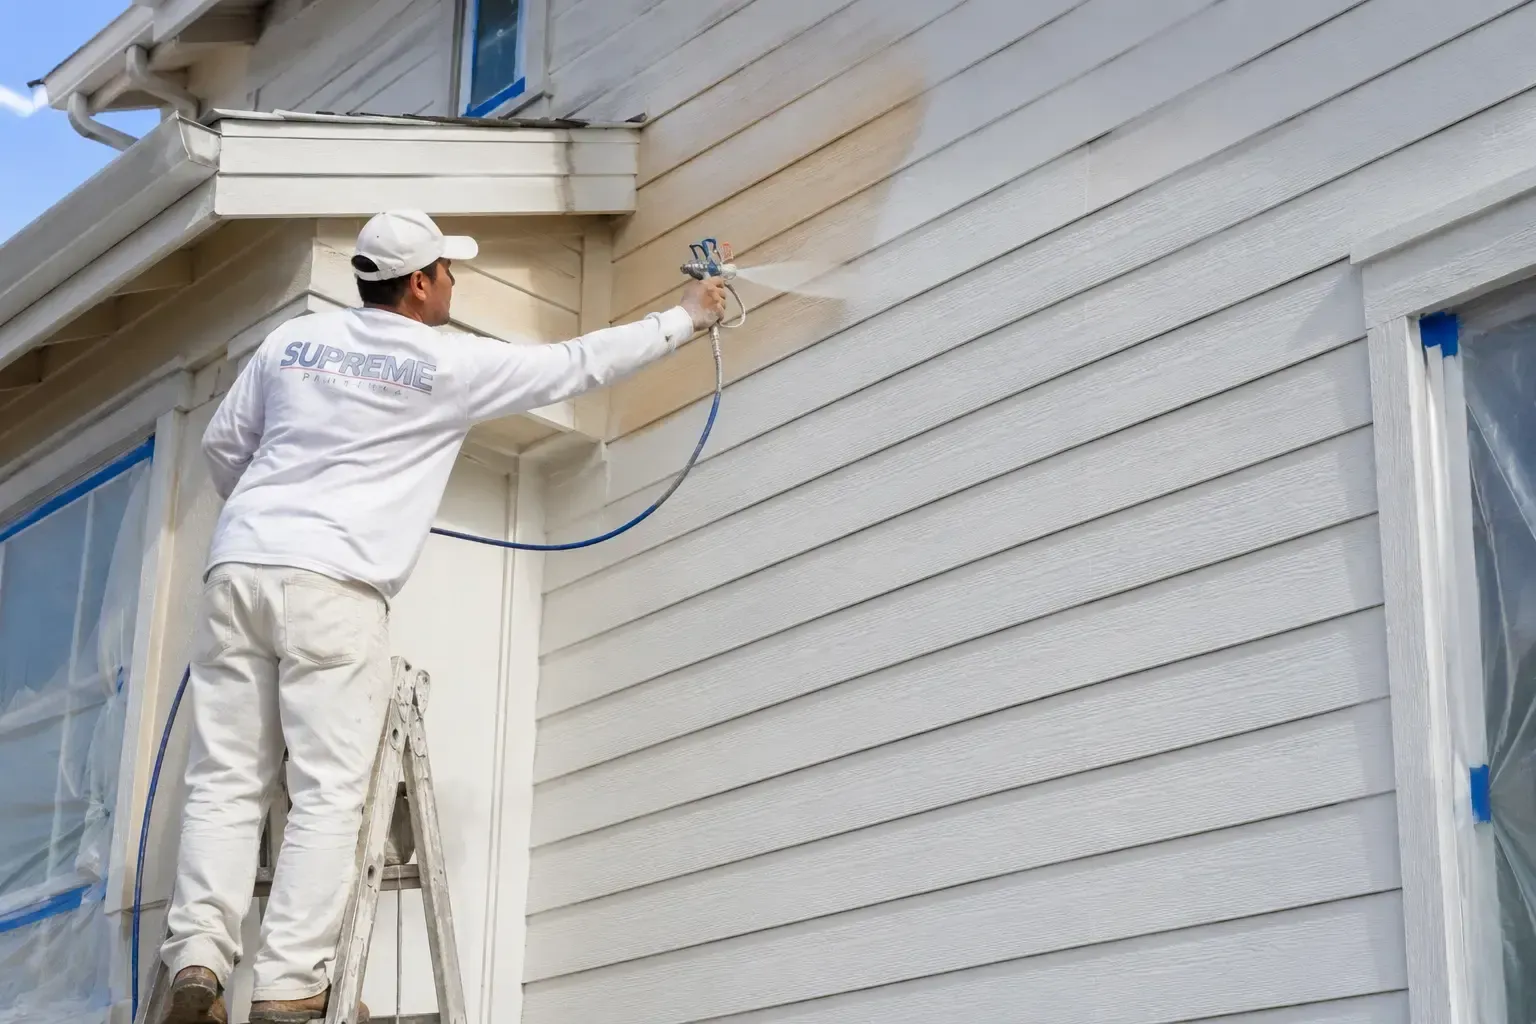
Interior vs. Exterior: Does Preparation Change?
Yes, and here’s why:
- Interior prep focuses on cleanliness, dust removal, and smooth finishes.
- Exterior prep must battle the elements—sun, rain, mold, and mildew.
Exterior jobs may also require power washing and filling in large cracks caused by seasonal expansion or pests.
Decluttering and Organizing the Work Area
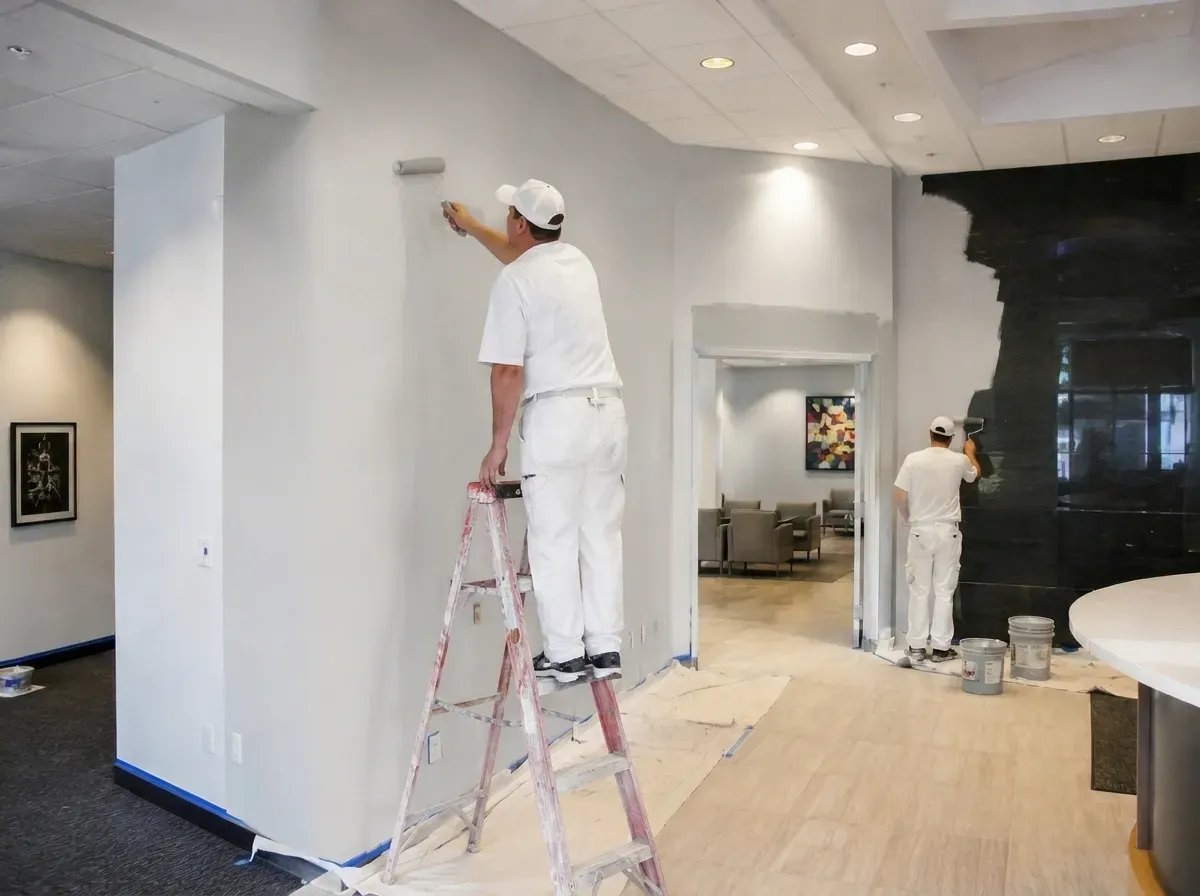
Move furniture, wall hangings, and anything else that may get in the way. Cover large furniture with plastic sheets and remove items from walls and shelves. The more open space you have, the faster and safer the painting process will be.
Cleaning Surfaces Thoroughly
Paint won't stick to dirt. Use a mild detergent or a degreasing solution for greasy areas, especially kitchens. Wipe down with a damp cloth and let dry completely. For exteriors, consider power washing.
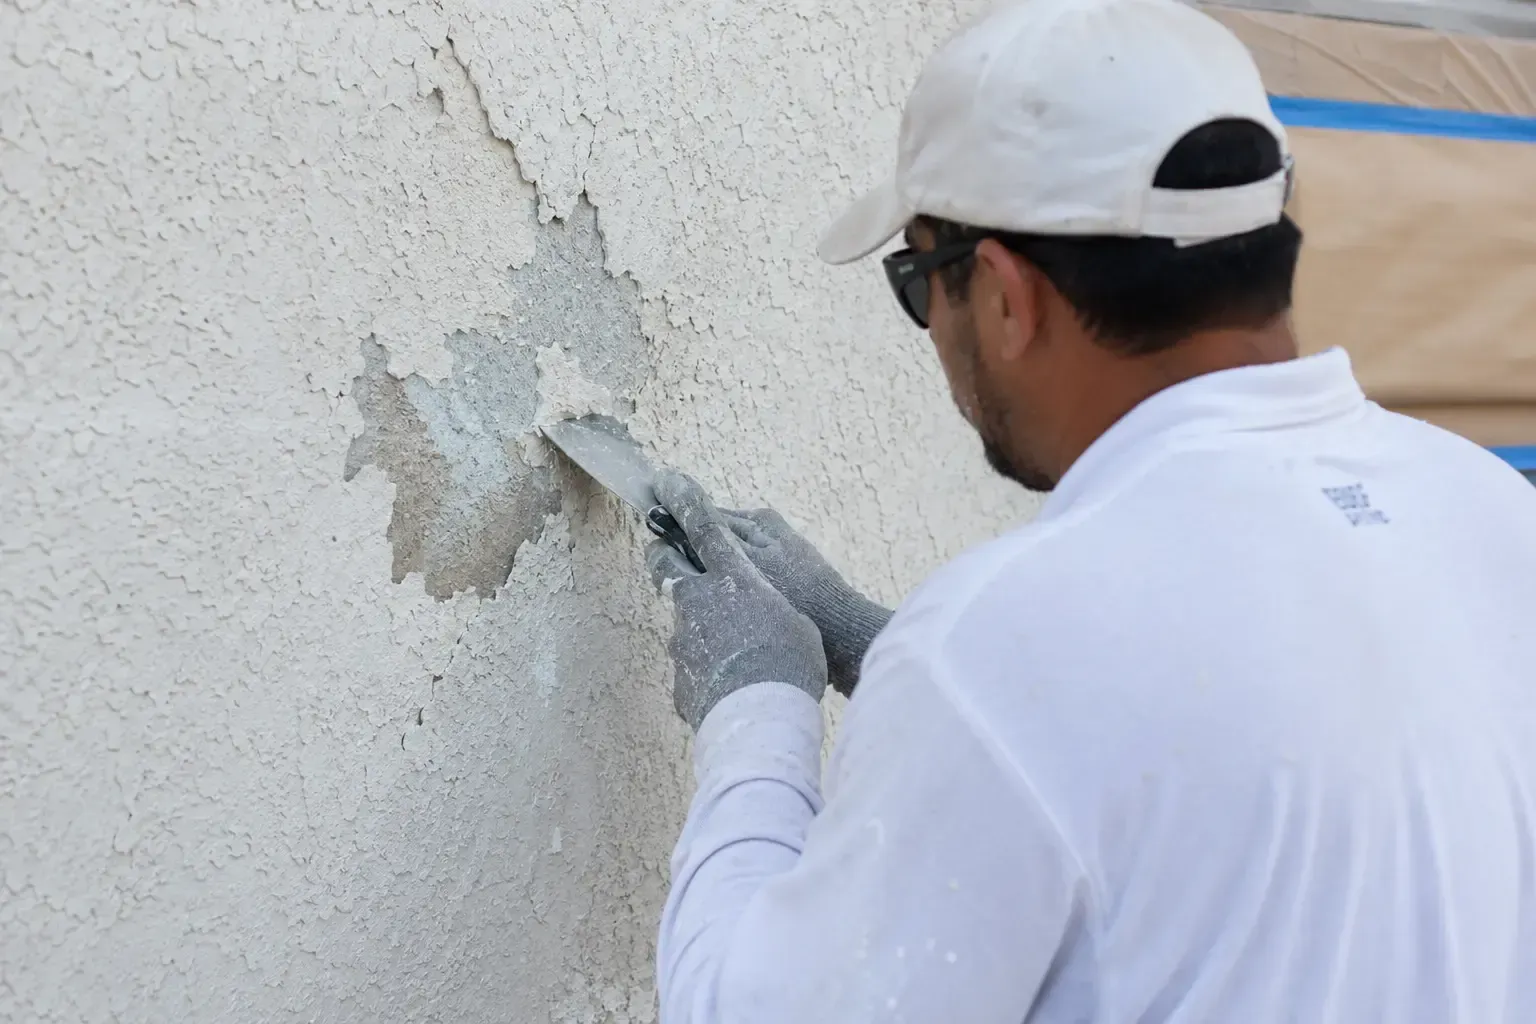
Repairing Surface Imperfections
Inspect for cracks, dents, and nail holes. Fill them with spackle or filler. Once dry, sand the area to ensure it's flush with the rest of the wall. Imperfections left uncorrected will magnify under a fresh coat of paint.
Importance of Sanding Before Painting
Sanding isn't optional. It removes gloss from previously painted surfaces and creates a texture for new paint to grip. Use fine-grit sandpaper for light scuffing and coarse-grit for serious smoothing.
Priming: The Foundation of a Professional Finish
Primer seals porous surfaces and prevents stains from bleeding through. Choose:
- Water-based primer for drywall
- Oil-based primer for wood or metal
- Stain-blocking primer for troubled spots
Never skip priming unless your paint is a primer-and-paint combo designed for that exact surface.
How to Test for Lead Paint
If your home was built before 1978, test for lead before sanding or scraping. Use a lead test kit available at most hardware stores. If results are positive, hire professionals to handle removal safely.
Choosing the Right Paint for Each Room
Not all paints are created equal. Use:
- Satin or semi-gloss for kitchens and bathrooms (easy to clean)
- Matte for ceilings or low-traffic walls
- Exterior latex for outdoor walls
Quality matters more than quantity, especially when durability and washability are concerned.
Masking and Taping for Sharp Edges
Apply painter’s tape along trim, molding, and baseboards. Press edges firmly to prevent bleed-through. Always remove tape at a 45-degree angle while the paint is still tacky for cleaner lines.
Removing Fixtures and Covers
Take down light fixtures, cover plates, and curtain rods. Label and store screws safely. Painting around these items risks messiness and makes future maintenance harder.
Dealing With Mold and Mildew
Treat affected areas with a bleach solution (1 part bleach to 3 parts water). Rinse thoroughly and let dry before priming. Painting over mildew? Big mistake—it’ll return.
Controlling Dust and Debris
Use plastic sheeting and painter’s drop cloths to isolate the space. Keep windows closed and use air filters or fans with filters to minimize dust.
Tips for Prepping Ceilings and Corners
Ceiling prep includes dust removal and possibly scraping popcorn textures. Use extension poles and painter’s scaffolding for safety and reach.
Flooring Protection Methods
Hardwood or carpet? Either way, protect floors with:
- Canvas drop cloths (reusable, no slipping)
- Plastic sheeting (disposable, waterproof)
- Rosin paper (great for hardwood)
Creating a Painting Timeline and Plan
Plan your painting like a military mission:
- Clean
- Repair
- Sand
- Prime
- Paint
Assign one day per task and allow drying times. Overlapping can ruin progress and morale.
Temperature and Humidity Considerations
Ideal conditions: 60–85°F with humidity below 60%. Too humid? The paint takes forever to dry. Too hot? It dries too fast and cracks.
Lighting Considerations for Painting Prep
Natural light reveals surface flaws, while artificial lighting ensures visibility in darker areas. Use both during inspection and prepping.
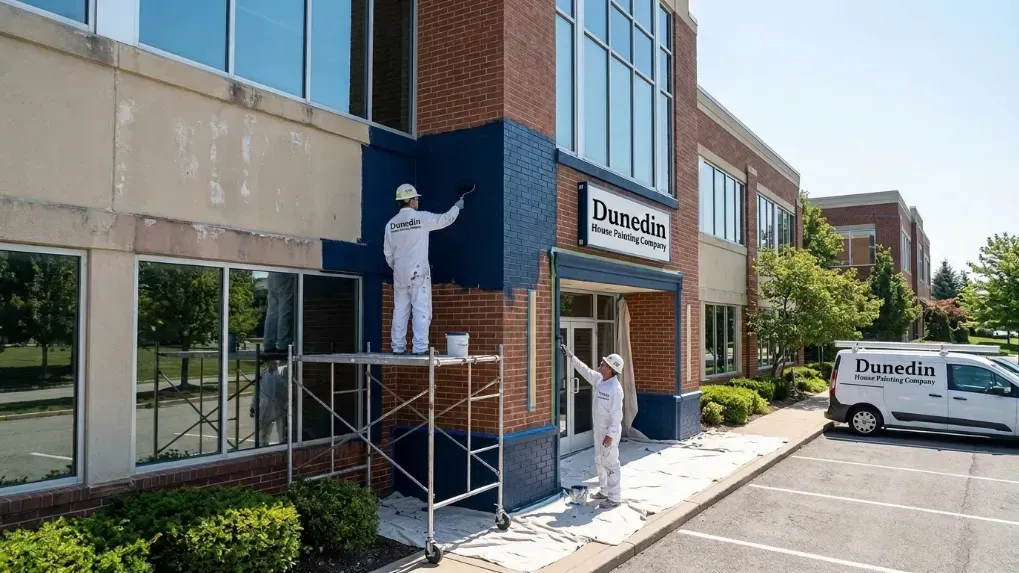
Working With a Professional
Hiring pros? You’re in luck. A quality House Painting Service includes full prep work and expert execution, often with warranties.
Budgeting for Prep Materials
Prep costs range from $100 to $300 depending on home size. It includes:
- Cleaners
- Filler and spackle
- Sandpaper
- Primer
- Tape and cloths
Budget smart—quality prep materials lead to quality results.
Eco-Friendly Paint Prep Tips
Switch to:
- Biodegradable cleaners
- Reusable drop cloths
- Low-VOC primers
Eco choices are better for you, your home, and your planet.
Ventilation During Painting
Open windows, use exhaust fans, and maintain cross ventilation. Consider wearing a mask if using strong primers or oil-based paints.
Dealing With Pets and Children
Set boundaries. Use gates or closed doors to keep kids and pets away from prep areas. Wet paint and wagging tails don’t mix.
Common Prep Mistakes to Avoid
Avoid:
- Skipping sanding
- Painting over dirty surfaces
- Ignoring primer
- Rushing through dry times
Each shortcut costs more in the long run.
Essential Tools for the Perfect Prep
Checklist:
- Ladder
- Painter’s tape
- Spackling knife
- Putty and sandpaper
- Primer
- Drop cloths
These simple tools are your allies.
Seasonal Tips for Exterior Prep
In winter? Postpone. Summer? Start early or late to avoid the midday sun. Spring and fall are ideal with mild temperatures and dry air.
Final Walkthrough Before Painting
Review your space. Ensure:
- All repairs are dry
- Sanding is complete
- Surfaces are clean
- Fixtures are removed
It’s your last chance before the color goes up!
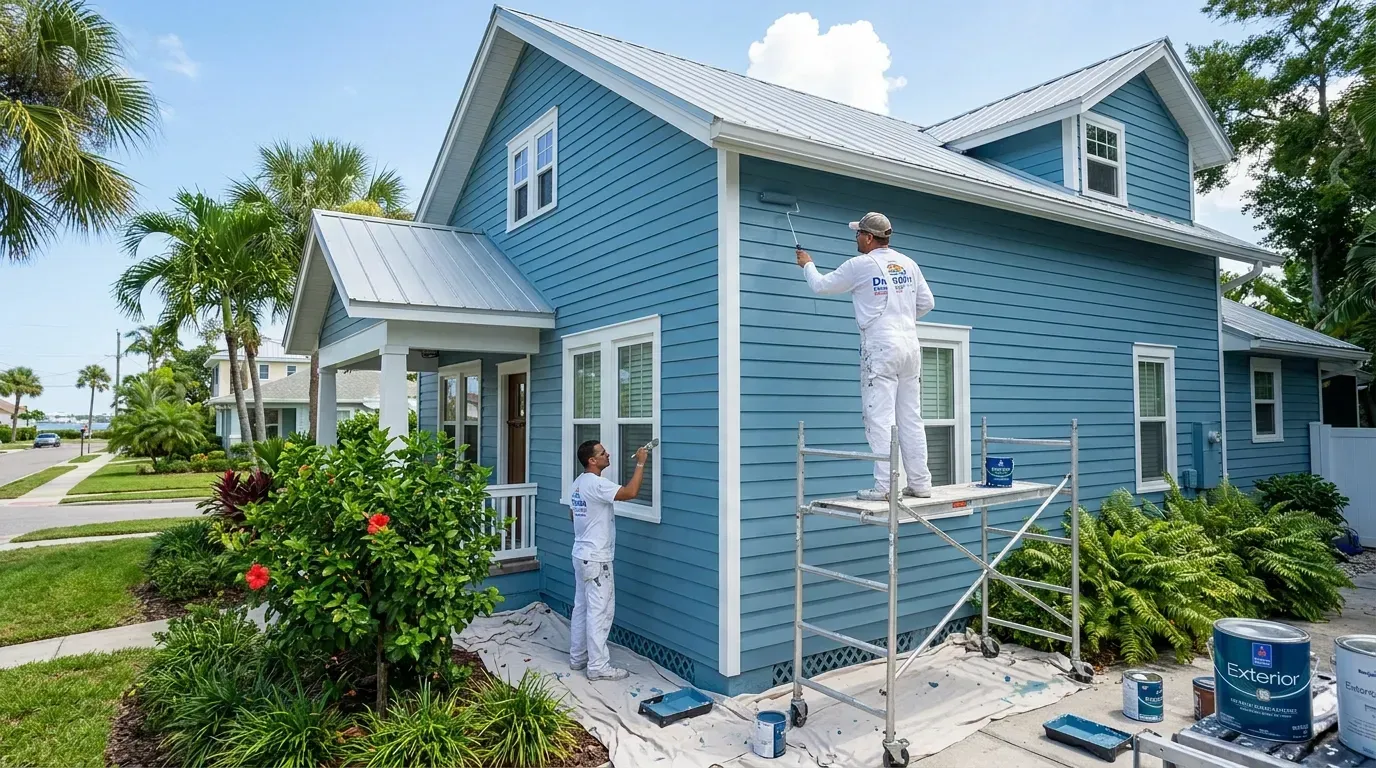
Calling in the Experts
For a seamless experience, reach out to a local House Painting Service that offers complete prep-to-paint support.
How to Reach Out
Need guidance or a free estimate? Visit the Contact page to get started with professionals who prioritize perfection.
FAQs
Why is paint prep so important?
Because no matter how good the paint, it won’t adhere well to dirty, damaged, or glossy surfaces.
Can I paint without sanding?
You can, but the results will be disappointing. Sanding ensures paint sticks and looks smooth.
Do I need primer on previously painted walls?
Only if the surface is stained, patched, or switching from dark to light colors.
How do I know if I need to remove old paint?
If it’s flaking or bubbling—yes. If it’s smooth and intact—no.
What’s the best drop cloth?
Canvas for reusability and durability. Plastic for moisture protection.
Is it cheaper to do it myself or hire a pro?
DIY saves labor costs, but pros save time and ensure quality—especially in larger projects.
Conclusion
In painting, prep is power. With the right steps, tools, and mindset, you’ll transform your space beautifully and lastingly. Whether you go solo or hire a House Painting Service, now you know the prep work that leads to a flawless paint job.
Links: