Mastering the Brush: The Ultimate Guide to Professional House Painting Tools and Expert Techniques
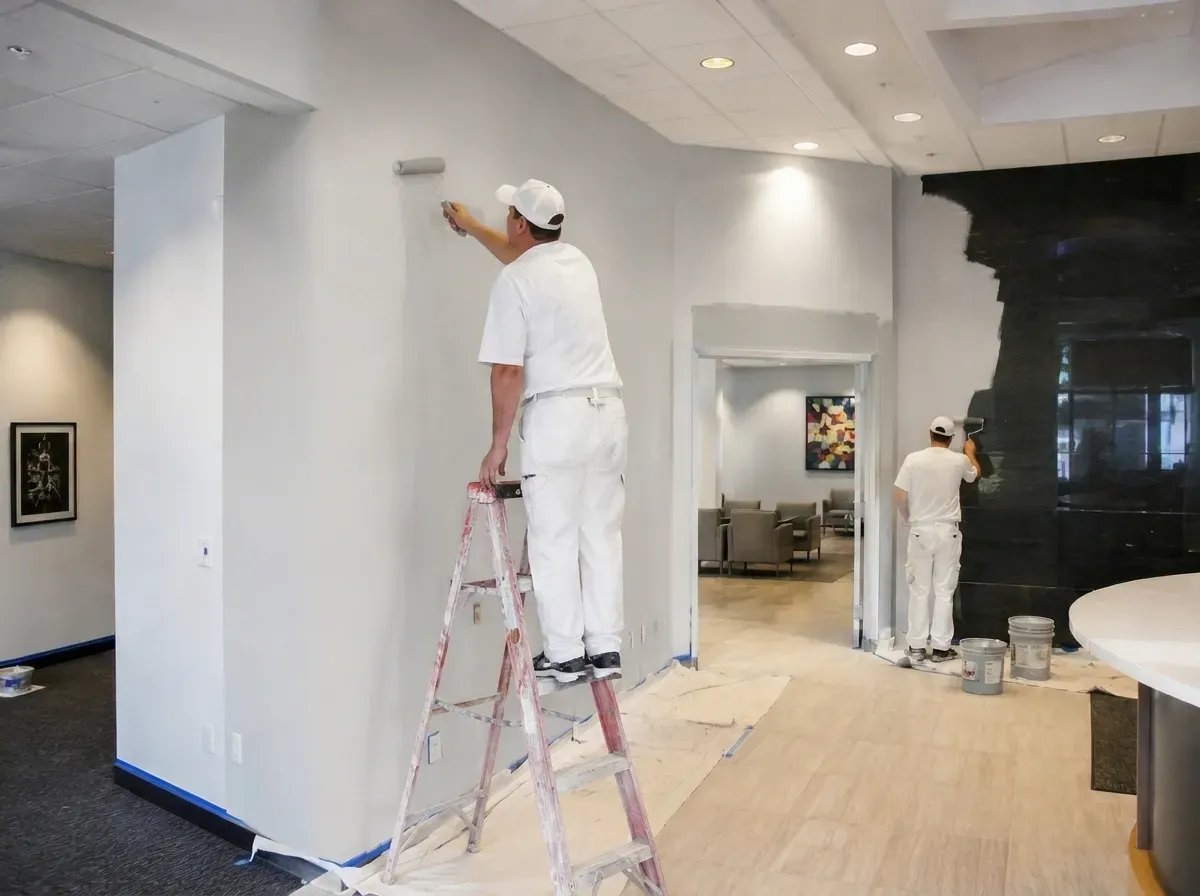
A bad paint job screams at you from across the street. It’s in the jagged lines along the trim, the visible brush strokes on the siding, and the inevitable peeling that starts just six months after the ladder is put away. Most people think painting is easy. It isn't. It is a grueling, meticulous discipline that rewards patience and punishes shortcuts. If you want your home to look like it was handled by professional house painters, you have to stop thinking like a weekend warrior and start thinking like a craftsman. This guide isn't about "freshening up" a room. It’s about the professional standards we uphold at our Our Homepage, where every drop of pigment serves a purpose.
The Psychological Barrier: Why Most DIY Projects Fail
Preparation is boring. That is the hard truth. Most homeowners want to see color on the walls within twenty minutes of buying the cans. That impulse is your greatest enemy. Professionals spend 70% of their time on things that aren't painting. We sand. We scrape. We wash. We caulk. If you skip the grit, the paint won't stick. It’s that simple. Paint is a chemical bond, not a magic cloak. If there is dust, oil, or loose debris on the substrate, the bond fails. You might as well throw your money directly into the gutter. At About Us, our team treats every surface as a canvas that must be surgically cleaned before the first lid is even popped.
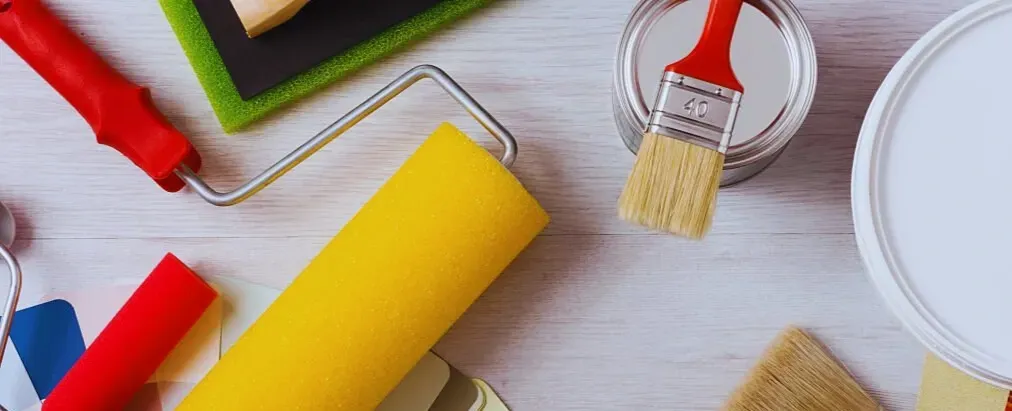
The Arsenal: House Painting Tools That Actually Matter
Stop buying the $5 brush sets at the big-box checkout counter. They are trash. They shed bristles into your finish, and they don't hold enough paint to create a smooth flow. You need tools that work with you, not against you. Here is the reality of a professional setup.
Brushes: The Surgeon’s Scalpel
You need a high-quality 2.5-inch or 3-inch angled sash brush. These are designed for "cutting in"—the process of painting straight lines along ceilings and trim without using tape. Synthetic filaments (like nylon and polyester blends) are best for water-based latex paints. They maintain their stiffness and "snap." If you’re using oil-based primers, you’ll want a natural China bristle brush. A good brush should feel balanced in your hand. It should hold a "reservoir" of paint in the center while the tips lay it down smoothly. Clean them like your life depends on it, and they will last for years.
Rollers and Naps: It’s All About the Texture
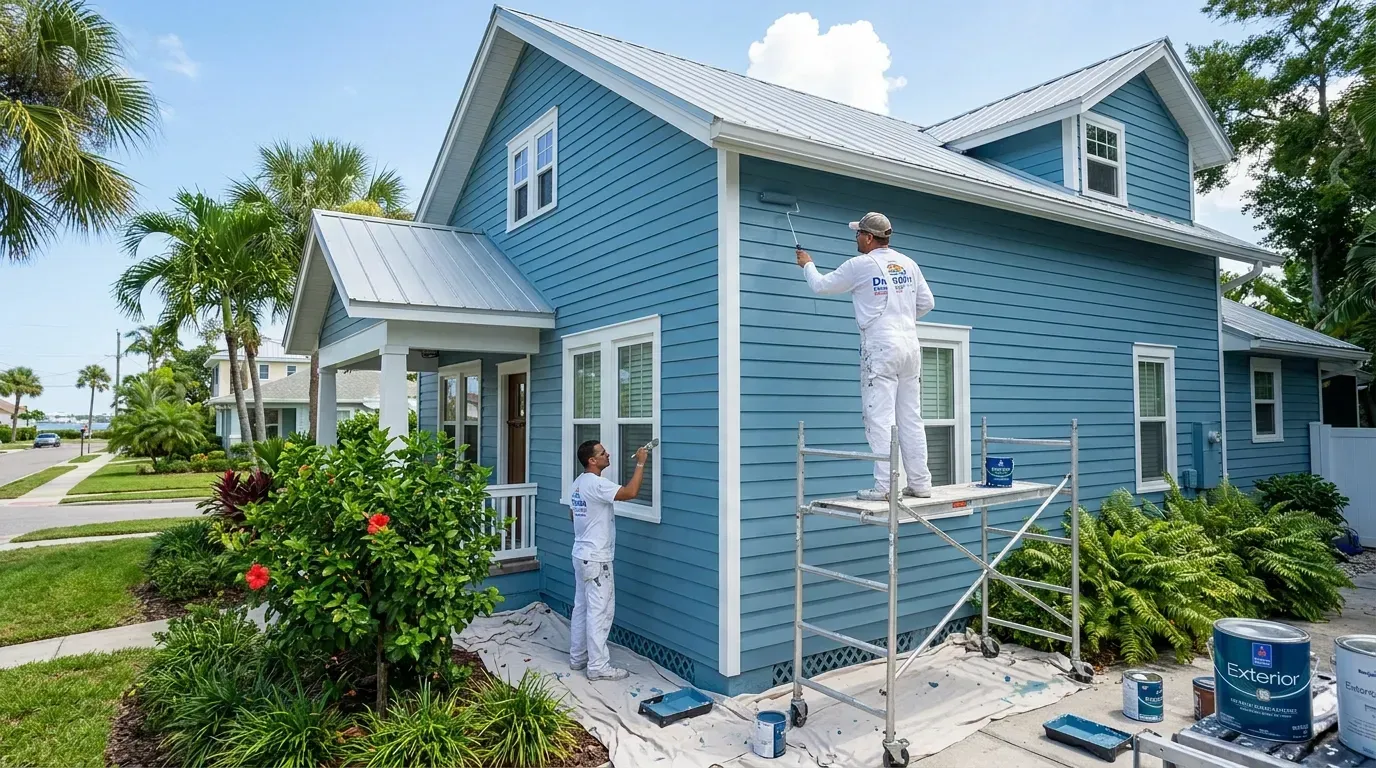
The "nap" refers to the thickness of the roller cover's fibers. Use a 3/8-inch nap for smooth drywall. Move up to a 1/2-inch or 3/4-inch nap for textured walls or masonry. Cheap rollers "splatter" and leave "holidays"—those annoying thin spots where the old color peeks through. Invest in a heavy-duty roller frame with a fiberglass extension pole. Shaky wooden poles lead to uneven pressure and streaks. A pro-grade frame won't flex when you're trying to get that even coat across a high ceiling.
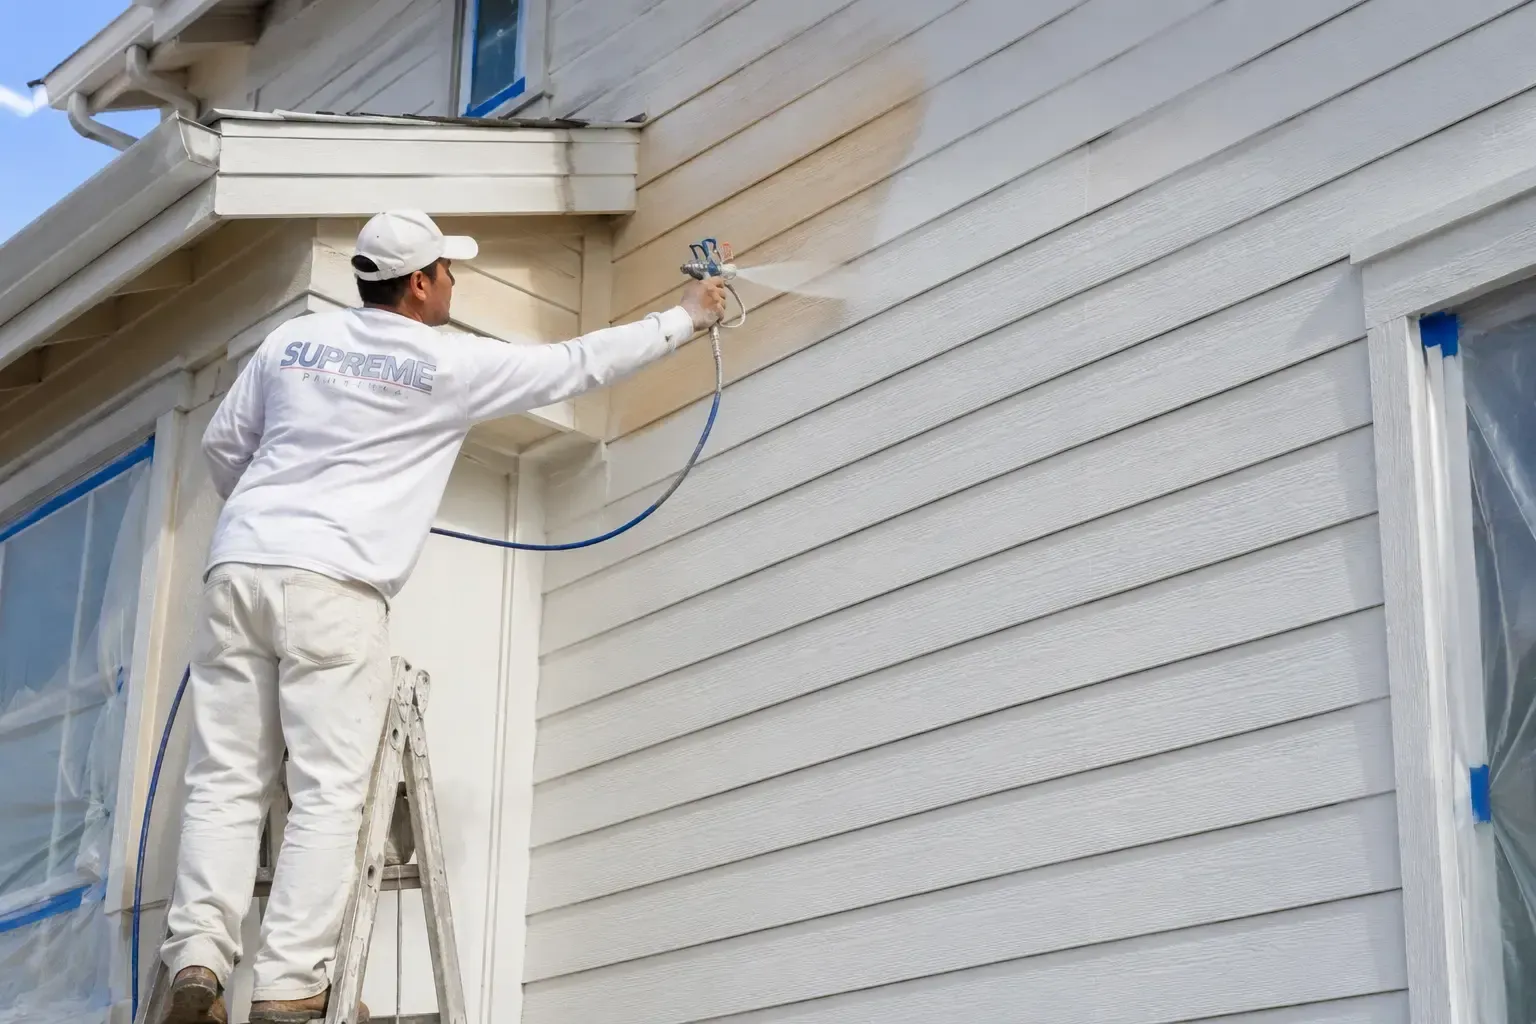
The Power of the Airless Sprayer
For large-scale exterior work, house painting tools must include an airless sprayer. This isn't just about speed; it's about uniformity. A machine like the Titan 440 or a Graco Ultra 395 atomizes the paint, pushing it through a tiny tip at high pressure. This allows the paint to penetrate the nooks and crannies of stucco or rough-sawn cedar in a way a roller never could. However, if you don't know how to "back-roll" after spraying, you're asking for trouble. Back-rolling ensures the paint actually bites into the surface rather than just sitting on top of the dust.
The Holy Trinity of Surface Prep
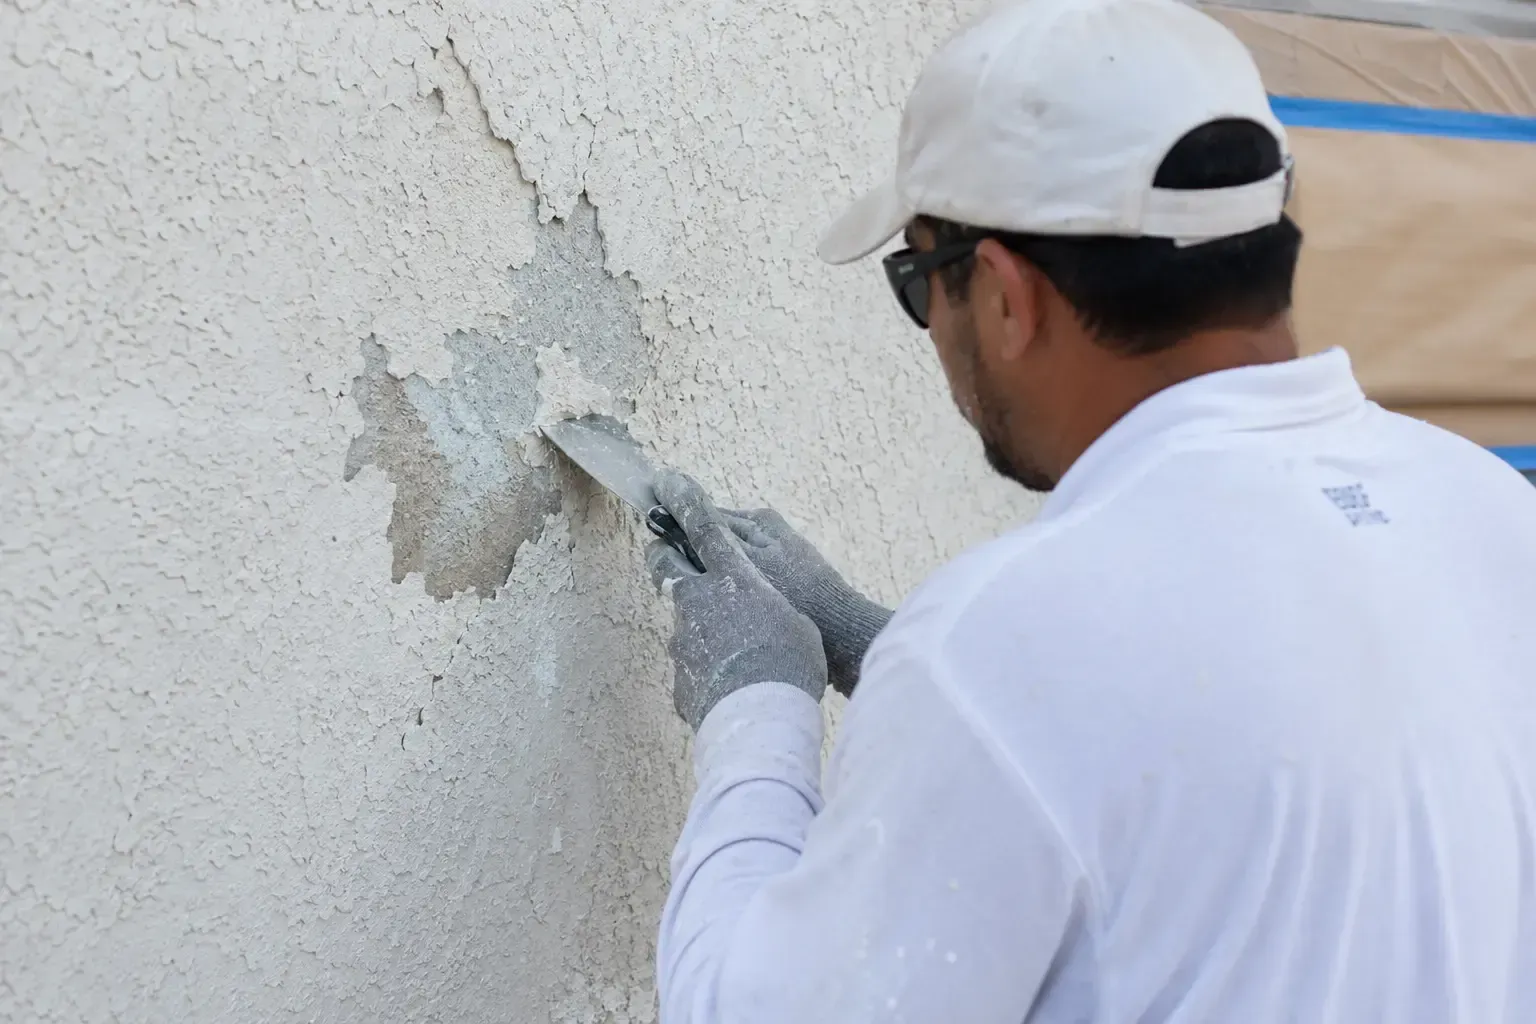
If you ignore this section, nothing else matters. You can buy the most expensive paint in the world, and it will still fail on a poorly prepared surface. House painting tips usually gloss over the hard labor, but we won't.
- Cleaning: Use TSP (Trisodium Phosphate) or a biodegradable substitute. Walls in kitchens have grease. Walls in bathrooms have hairspray and soap scum. Exterior walls have mold and oxidation. All of it must go.
- Scraping and Sanding: Any loose, flaking, or "alligatoring" paint must be removed. Use a carbide-tipped scraper for the heavy lifting and follow up with 80-grit to 120-grit sandpaper to "feather" the edges. You shouldn't be able to feel the transition between the old paint and the bare wood with your eyes closed.
- Priming: Primer is the "glue" that connects the substrate to the finish coat. Don't believe the "Paint + Primer in One" marketing hype for every situation. If you’re dealing with water stains, smoke damage, or raw wood, you need a dedicated stain-blocking primer (often oil or shellac-based).
Advanced Cutting-In Techniques
Professional house painters rarely rely on blue painter's tape for everything. Tape can bleed. It can pull off the finish. Instead, learn the "vibration" technique. Load your brush, but not to the point of dripping. Start about an inch away from your line to shed the bulk of the paint, then slowly wiggle the brush toward the corner. The bristles will fan out into a sharp edge. Keep a steady hand and a wet edge. If you’re worried about shaky hands, take a breath and move with your shoulder, not your wrist. It’s a rhythmic motion. Practice makes the line straight, not the tape.
Exterior Challenges: Fighting the Elements
Painting outside is a battle against the sun and the wind. Never paint in direct sunlight. The sun cooks the paint before it has a chance to level out, leading to brush marks and poor adhesion. Follow the shade around the house. If you're looking for a local house painting company, ask them about their weather protocols. A reputable crew won't paint if the humidity is over 85% or if the temperature is going to drop below 50 degrees Fahrenheit within 24 hours. Moisture is the silent killer of exterior coatings. We check moisture levels with digital meters before we even think about opening a can.
Choosing the Right Finish: Sheen Matters
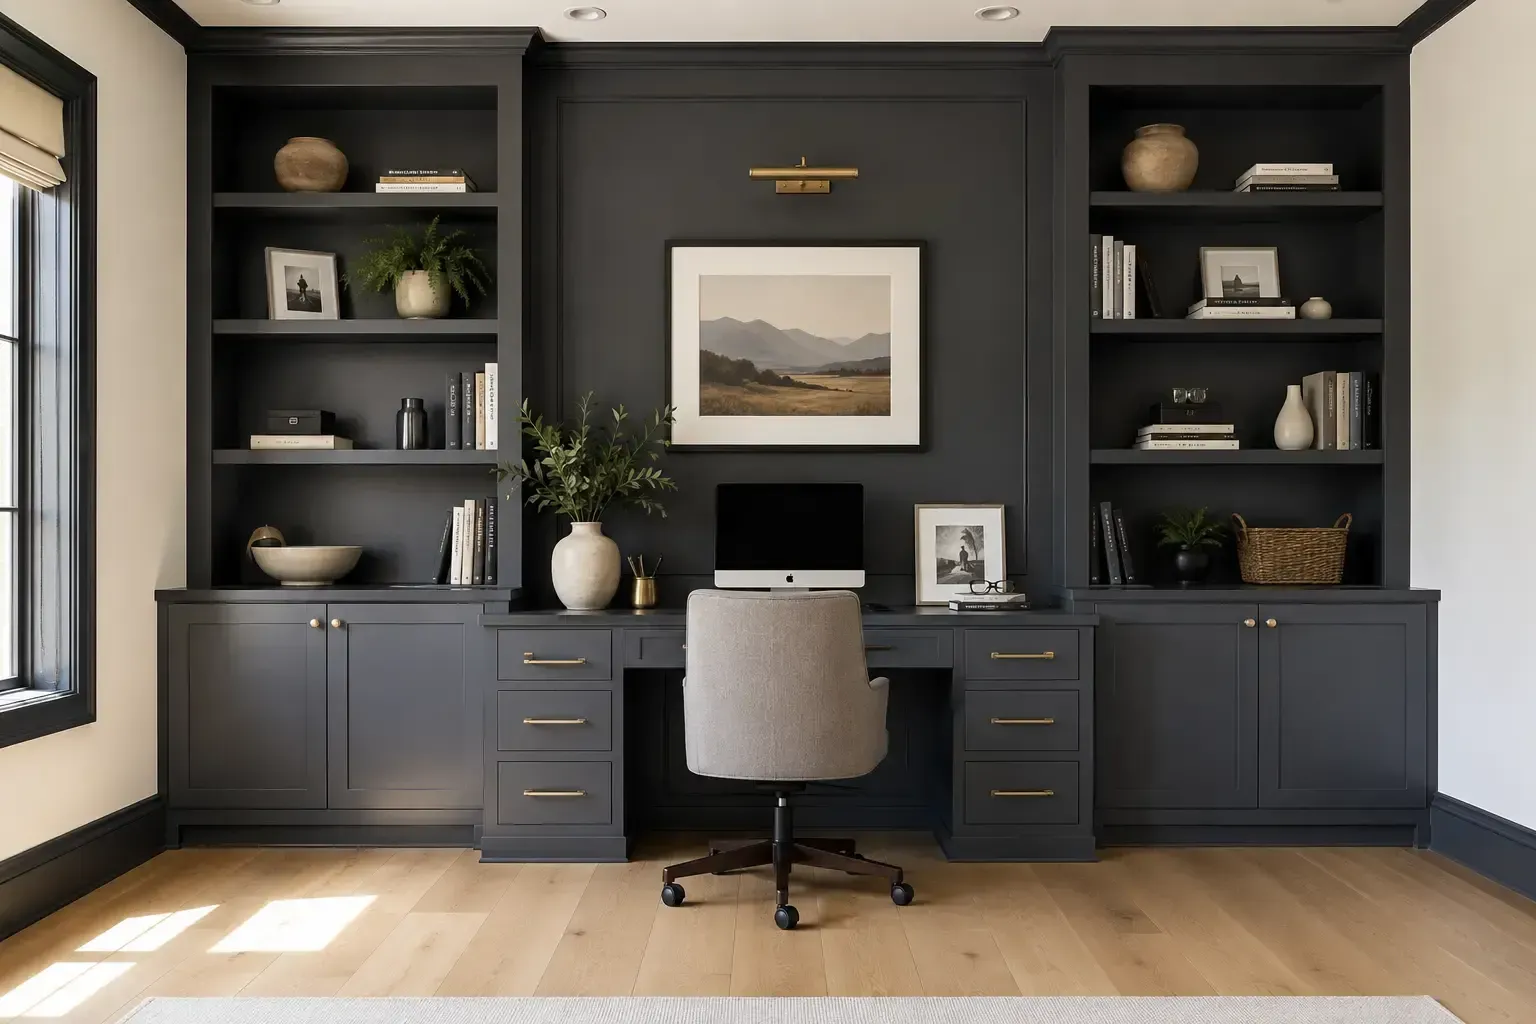
The "sheen" or "gloss" level isn't just an aesthetic choice; it’s a functional one. Flat and matte finishes hide imperfections on the wall but are harder to clean. They are great for ceilings and low-traffic bedrooms. Eggshell and satin are the workhorses of the industry, offering a slight glow and decent scrubbability—perfect for living rooms and hallways. Semi-gloss and high-gloss are for trim, doors, and cabinets. They are durable and stand up to the constant touching and cleaning that these surfaces endure. Just remember: the higher the gloss, the more every tiny bump and scratch will show. Your prep work must be flawless if you’re going high-gloss.
The Cost of Quality: Why the Lowest Bid is Often the Most Expensive
When you look for a local house painting company, you'll see a wide range of quotes. The "cheap" guy is cheap because he’s cutting corners. He isn't using premium resins. He isn't spending three days on prep. He’s "slapping it on." Within two years, you’ll be paying someone else to scrape off his mess and do it right. At Our Main Services, we explain the "why" behind our pricing. Quality materials like Sherwin-Williams Emerald or Benjamin Moore Aura cost more because they have a higher solids content. That means more pigment stays on the wall after the water evaporates. Better coverage, better color retention, better life expectancy.
Safety: The Part No One Likes to Talk About
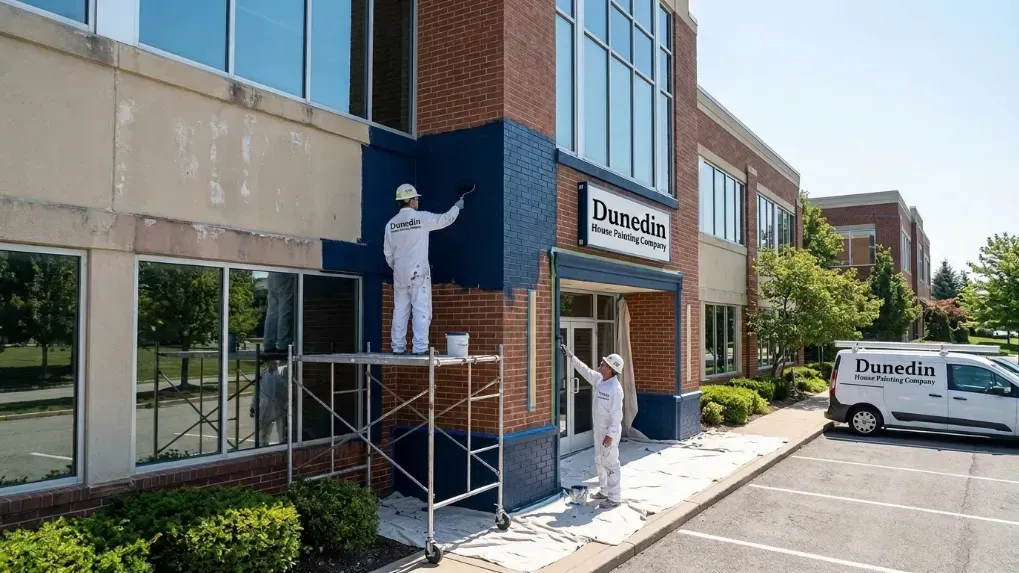
Ladders are dangerous. Period. Every year, thousands of people end up in the ER from painting-related falls. Professionals use "ladder mitts" to protect your siding and "levelers" for uneven ground. We never stand on the top two rungs. If you’re working on a two-story home, the risk of DIY increases exponentially. Beyond falls, you have to worry about lead paint in homes built before 1978. Sanding lead paint creates a toxic dust cloud that can linger in your carpets and ducts for years. We are RRP (Renovation, Repair, and Painting) certified, meaning we know how to contain and dispose of hazardous materials safely.
Maintaining Your Investment
Once the job is done, don't just forget about it. Walk around your house once a year. Look for "checking"—tiny cracks in the caulk around windows. If you catch these early and re-caulk, you prevent water from getting behind the paint and rotting the wood. Wash your exterior once a year with a low-pressure garden hose to remove salt and dirt. Inside, use a soft microfiber cloth and mild soap for scuffs. Avoid abrasive cleaners that can "burnish" or polish the paint, changing its sheen level. If you ever have questions about maintenance, you can always Contact Us for advice.
Final Thoughts on the Craft
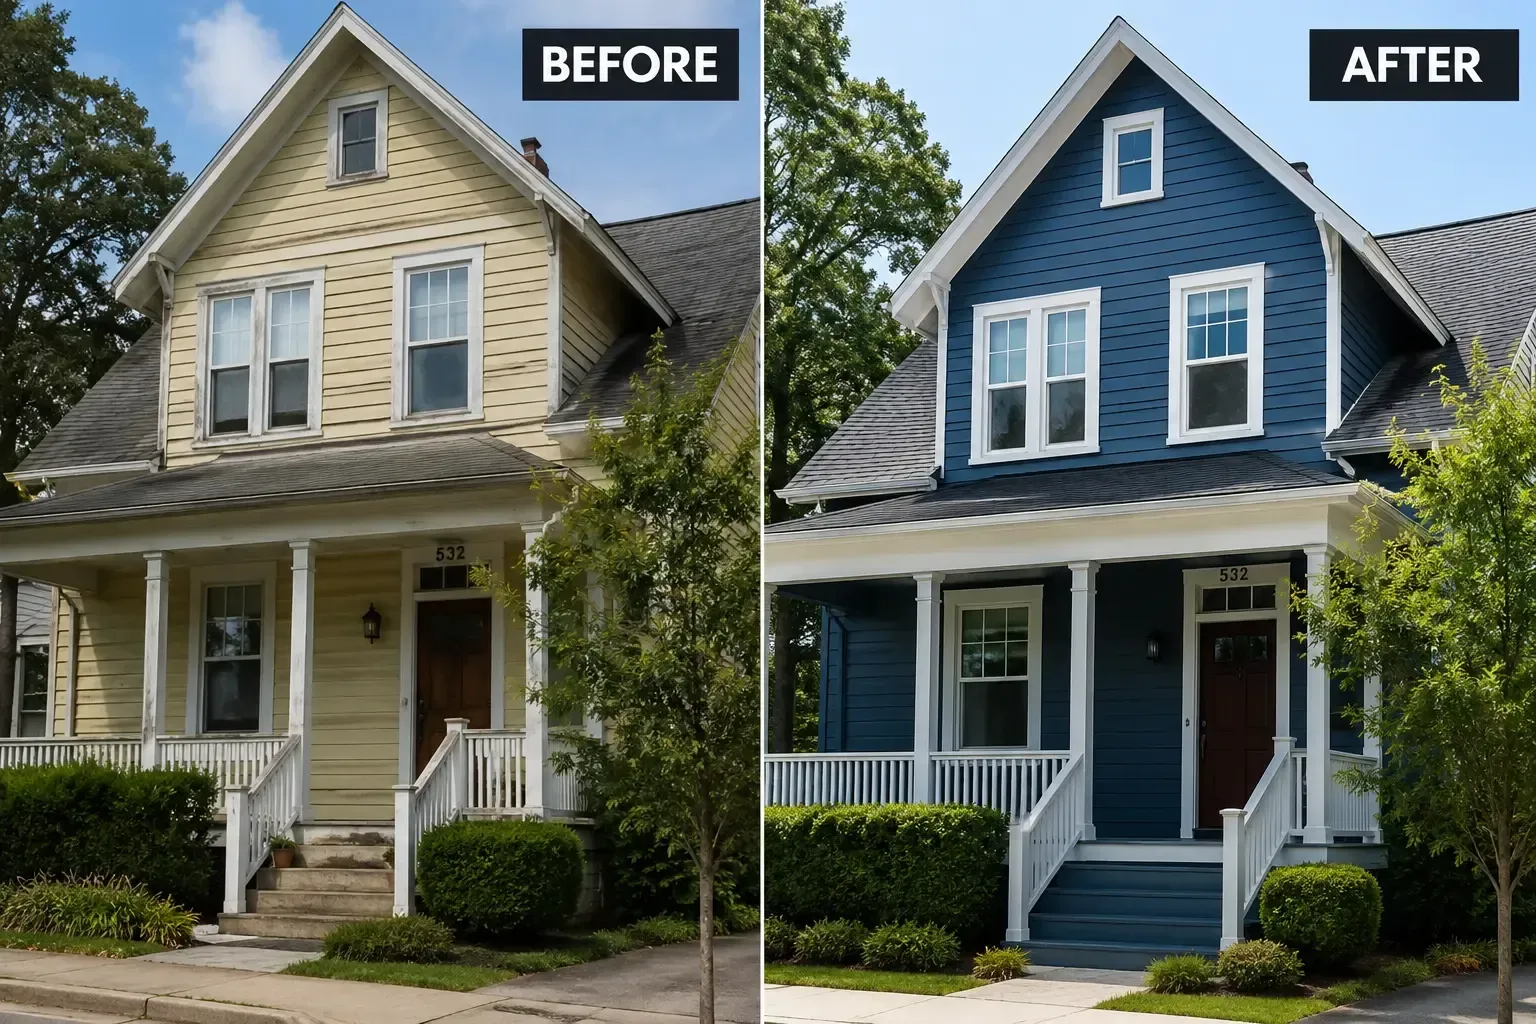
Painting is one of the few home improvements that provides an immediate, transformative ROI. It changes the mood of a room and the curb appeal of a property instantly. But that transformation is only as good as the technique behind it. Whether you decide to pick up the brush yourself or hire professional house painters, respect the process. Don't rush. Don't skimp on tools. And never, ever underestimate the power of a good sanding block. A house isn't just a structure; it's your biggest asset. Treat it with the care it deserves.
Frequently Asked Questions
How many coats of paint do I really need?
In almost every professional scenario, two coats are required. The first coat provides the base and seals the surface, while the second coat ensures uniform color, sheen, and durability. Even "one-coat" paints usually require a second pass to achieve a truly professional, streak-free finish that lasts.
What is the best way to clean my paintbrushes?
For latex paint, use warm water and a drop of dish soap. Use a "brush comb" to remove dried bits from the center of the bristles. Rinse until the water runs clear. For oil-based paints, use mineral spirits or paint thinner. Always reshape the bristles before letting the brush dry flat.
How long should I wait between coats?
For most water-based paints, you should wait 2 to 4 hours before applying a second coat. However, humidity and temperature play a huge role. If the paint feels tacky or "drags" when you run your finger over a small spot, it isn't ready. Always check the manufacturer's specific instructions.
Is it better to paint with a roller or a sprayer?
It depends on the project. Sprayers are incredibly efficient for large, empty spaces or detailed exteriors like shutters and trim. Rollers are better for occupied interiors where "overspray" would be a nightmare to manage. Professionals often spray and then "back-roll" to ensure even penetration and texture.
How do I know if my old house has lead paint?
If your home was built before 1978, there is a high probability of lead-based paint. You can purchase a lead test kit at most hardware stores. If it tests positive, do not sand it. Contact a certified lead-safe professional to handle the preparation and removal to avoid health risks.